Reading Time: 8 min read
How Smart Garden Watering Automation Actually Works
A beginner watering-automation system has two separate jobs: deliver water reliably and decide when that delivery system should run. The irrigation hardware handles the first job; the timer or controller handles the second.
That distinction matters because a smart controller cannot fix clogged emitters, poor pressure, leaks or badly grouped plants. Build a dependable irrigation system first, then automate it.
The Basic System Architecture
A typical small garden setup follows this path:
Water source → backflow protection where required → filter → pressure regulator → mainline tubing → zone valves if used → dripline or emitters → plants.
The timer or smart controller sits at the control layer and determines when one or more zones receive water.
Optional sensors can provide feedback, but they are not required for a functional automated system.
Step 1: Decide What You Are Watering
List the beds, containers, hanging baskets or other growing areas you want to automate.
Do not begin by choosing a smart controller. First identify which plants can reasonably share the same watering pattern.
A deep raised bed, a small balcony container and a newly transplanted seedling tray may all behave differently even when they are only a few feet apart.
Step 2: Divide the Garden Into Watering Zones
A watering zone is a group of plants that can run from the same valve or controller output on roughly the same schedule.
Create separate zones when there are meaningful differences in:
- container size;
- root depth;
- sun and wind exposure;
- soil or potting-mix behavior;
- crop maturity;
- watering method.
Good zoning is one of the most important parts of automation because a controller can only make useful decisions when the plants grouped together have compatible needs.
Step 3: Choose the Water-Delivery Method
Dripline
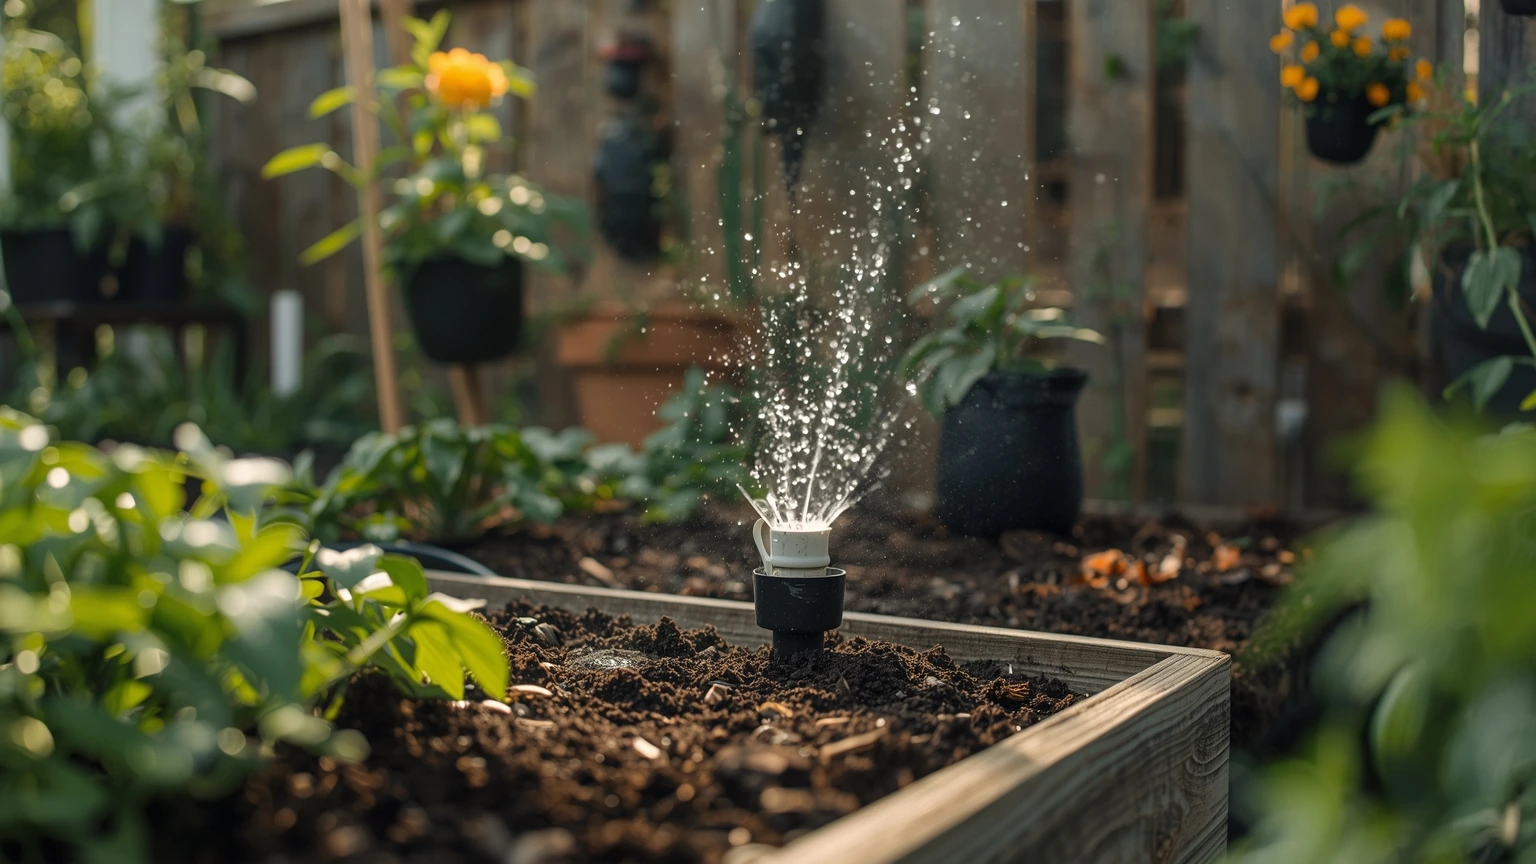
Useful for rows, raised beds and evenly spaced planting areas. Water is delivered along a line through built-in or attached emitters.
Individual Emitters
Useful for containers, widely spaced crops or plants that need individually positioned delivery points.
Micro-Sprayers
Useful in some dense planting layouts, but they wet a broader area than point-source drip and should be selected intentionally.
For beginner automation, drip irrigation is often easier to control because it delivers water near the root zone and makes system behavior easier to inspect.
Step 4: Check Pressure and Flow Before Buying the Controller
Drip systems typically operate within a defined pressure range. Excessive pressure can damage fittings or distort emitter performance, while inadequate pressure can produce uneven flow.
Use the regulator specified for your irrigation hardware rather than assuming household water pressure is appropriate.
Also confirm that the water source can supply enough flow for the emitters operating in each zone. If one zone contains too many emitters for the available flow, split it into smaller zones.
Step 5: Install Filtration
Small emitter openings can clog with debris. A filter is especially important when using drip irrigation and becomes even more important with rainwater or other non-municipal sources.
Install and maintain filtration according to the irrigation system's requirements. A smart controller cannot compensate for restricted emitters.
Step 6: Lay the Mainline and Emitters
- Route the mainline where it can be inspected and secured.
- Connect each zone.
- Install dripline or emitters near the intended root zones.
- Secure tubing to prevent movement.
- Leave line ends open initially.
- Flush debris from the system.
- Close the ends and run the system manually.
Inspect every connection before adding automation.
Step 7: Test Water Distribution Manually
Run one zone at a time with the controller bypassed or in manual mode.
Look for:
- leaks;
- emitters with little or no flow;
- connections that separate under pressure;
- water landing too far from the root zone;
- runoff before the soil is adequately wet;
- large differences between the beginning and end of a line.
Fix those problems before programming a schedule.
Step 8: Choose the Right Controller
Basic Hose Timer
Best for one simple zone where you only need scheduled start times and runtimes.
Multi-Zone Timer
Useful when beds or containers require different schedules.
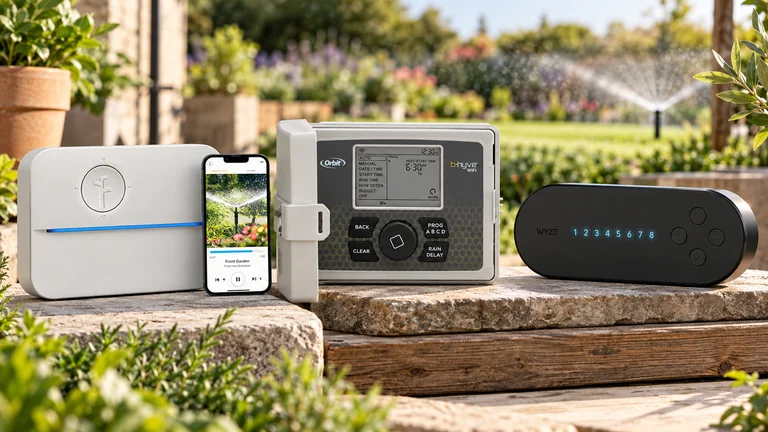
Connected Smart Controller
Useful when you want remote control, alerts, multiple zones, weather-based adjustment or integration with other home-automation systems.
Wi-Fi is not required for watering automation. Connectivity is a feature, not the definition of automation.
Step 9: Program an Initial Schedule Conservatively
Do not search for one universal schedule such as “20 minutes every morning.” Runtime depends on emitter flow, crop, root depth, soil or potting mix, weather and container size.
Start with a conservative schedule, then check the growing medium at root depth after irrigation.
The objective is to learn how your system behaves, not to make the controller follow a generic number.
Step 10: Verify the Root Zone
After a watering cycle, inspect moisture below the surface. Surface appearance alone can be misleading.
Check several points in a bed. One emitter can create a wet pocket while adjacent roots remain dry.
If water does not reach the intended depth or spreads unevenly, adjust emitter placement, flow or runtime before increasing automation complexity.
Step 11: Add Soil-Moisture Sensing Only If It Helps
A soil-moisture sensor is optional. It can provide useful feedback, but the reading represents conditions near that sensor.
Placement matters. A sensor beside an emitter may report wetter conditions than the rest of the bed, while a shallow sensor may not represent deeper roots.
Use sensor readings together with physical inspection until you understand the relationship between the reading and actual root-zone conditions.
Step 12: Add Weather-Aware Control Carefully
Some controllers adjust watering using rainfall, temperature or weather-service data. This can reduce the need for constant manual schedule changes.
However, a weather station or forecast does not know every microclimate in the garden. Containers exposed to wind or reflected heat may dry faster than a nearby shaded bed.
Use weather automation as an adjustment layer, not as unquestioned authority.
Step 13: Consider Flow Monitoring and Leak Detection
Flow monitoring can identify unusual water use caused by broken tubing, disconnected emitters or leaks.
This becomes particularly useful when the system operates while you are away from home.
For a small garden that is inspected daily, it may be an unnecessary first upgrade.
Step 14: Keep Manual Override Available
You should always be able to stop or manually run a zone without depending on a cloud service or complicated automation rule.
Manual control is useful after transplanting, during repairs, when rainfall differs from the forecast or whenever plant conditions require intervention.
Beginner Setup Example: One Raised Bed
A simple raised-bed system might use:
- outdoor faucet;
- appropriate backflow protection;
- filter;
- pressure regulator;
- single-zone timer;
- mainline tubing;
- dripline or emitters;
- fittings and end caps.
No soil sensor, Wi-Fi hub or weather integration is required to automate this system successfully.
Beginner Setup Example: Balcony Containers
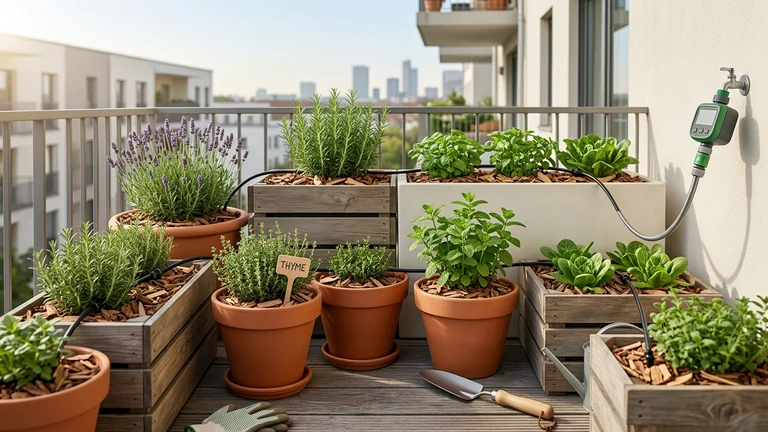
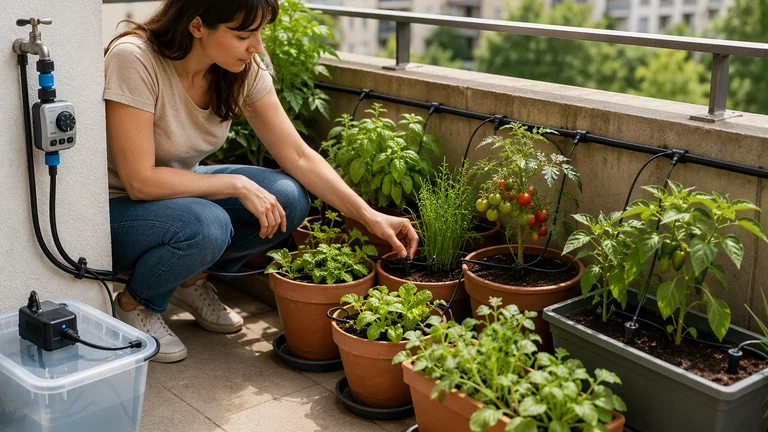
A balcony system may use a timer, low-flow tubing and individual emitters for each container.
Pay particular attention to secure connections and drainage. An automated leak on a balcony can cause damage long before a plant suffers from incorrect watering.
Different container sizes may need separate emitter rates or separate zones.
Beginner Setup Example: Multiple Raised Beds
If several beds contain different crops or have different sun exposure, a multi-zone controller can be more useful than one large shared schedule.
Use separate zones when those differences are large enough to require genuinely different runtimes or frequencies.
What Smart Sensors Can and Cannot Do
Sensors can measure conditions, but they do not automatically understand plant health.
A moisture sensor can indicate local moisture. A temperature sensor can report temperature. A rain sensor can detect or respond to rainfall conditions depending on its design.
None of these automatically knows whether every plant in the garden needs water.
The best automation combines sensor information with a well-designed irrigation system and periodic human inspection.
Common Beginner Mistakes
- Buying a smart controller before designing the irrigation layout.
- Assuming every smart system requires Wi-Fi.
- Skipping filtration.
- Ignoring pressure regulation.
- Putting very different plants on one zone.
- Installing sensors before understanding the basic watering pattern.
- Using generic runtimes copied from another garden.
- Never checking root-zone moisture.
- Assuming automation eliminates maintenance.
- Leaving a new system unattended before testing multiple cycles.
How to Choose Between a Timer, Sensors and a Full Smart Controller
Choose a basic timer if you have one simple watering zone and mainly want consistency.
Choose a multi-zone timer if different areas require different watering schedules.
Add moisture sensing when root-zone conditions are difficult to judge consistently and sensor placement can be meaningful.
Add weather-aware control when changing conditions frequently make fixed schedules inappropriate.
Add flow monitoring when leak detection or unattended operation is important.
Choose a connected controller when remote control and system visibility provide real value.
FAQ
How do I automate my garden watering?
Build a reliable irrigation system first, test it manually, then add a timer or controller that runs one or more watering zones. Add sensors or weather automation only when they solve a specific management problem.
Do I need a smart controller?
No. A basic digital timer can automate a simple garden effectively. Smart controllers become useful when you need multiple zones, remote access, weather adjustment or alerts.
Do I need soil-moisture sensors?
No. Sensors are optional feedback tools. Many systems work well with a timer and periodic root-zone checks.
Can I automate drip irrigation?
Yes. Drip irrigation works particularly well with timers and controllers because the water-delivery pattern is relatively easy to inspect and control.
Can I use rainwater with automated irrigation?
Yes, if the source provides appropriate pressure and flow and the system includes suitable filtration. Gravity-fed systems may require different hardware than pressurized faucet systems.
Choose the Control Layer After You Understand the Watering System
At this MOFU stage, the useful comparison is not “which smart device has the most features?” It is which timer, controller or sensor fits the irrigation system you just designed.
Once you know the number of zones, water source, pressure needs and delivery method, compare controllers and sensors on compatibility, reliability and the specific automation features you will actually use.