Reading Time: 6 min read
What an Under-$200 Garden Automation Stack Should Actually Automate
A useful low-cost garden automation system should start with one job: watering reliably. Trying to automate pruning, fertilizing, lighting, temperature and irrigation at the same time creates complexity without necessarily improving the garden.
For a balcony or small home garden, the practical stack is a dependable water-delivery system plus a timer or controller, with optional sensing added only after the base system works.
The Under-$200 Reference Stack
The exact price depends on your water source, number of containers and local hardware prices, but a realistic small-garden build can stay below $200 without relying on one specific brand.
| Component | Typical Role | Planning Range |
|---|---|---|
| Hose timer or basic smart timer | Turns irrigation on and off | $25–$55 |
| Filter + pressure regulator | Protects low-flow irrigation hardware | $15–$30 |
| Mainline tubing | Carries water to the growing area | $15–$25 |
| Emitters / micro-drip lines | Delivers water to containers or beds | $15–$30 |
| Fittings, tees, valves and stakes | Connects and secures the system | $10–$25 |
| Simple moisture-check tool | Helps verify the root zone | $0–$20 |
| Leak / flow safeguard or spare fittings | Adds resilience | $10–$25 |
A typical basic build therefore lands roughly in the $90–$190 range. The upper end leaves less room for optional smart-home extras, so prioritize reliable irrigation hardware before buying additional sensors.
Step 1: Map the Garden Before Buying Devices
Count containers or beds, note the water source and identify plants with meaningfully different watering needs. Tomatoes in large containers should not automatically share the same delivery pattern as small herb pots.
Step 2: Choose the Water Source
Outdoor Faucet
A pressurized faucet is the simplest starting point for most timer-controlled systems. Add filtration and pressure regulation appropriate for the irrigation hardware.
Reservoir
A balcony without a faucet may need a reservoir and pump. That can still fit an under-$200 design, but the pump, power source and reservoir capacity consume more of the budget and must be matched to the emitters.
Step 3: Build the Water-Delivery Layer First
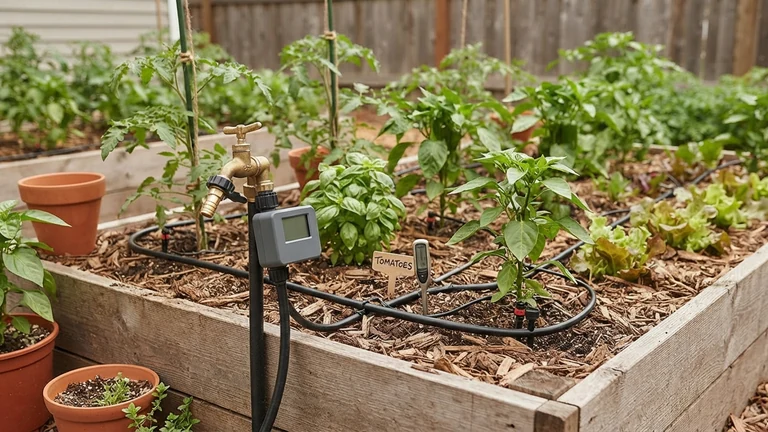
Install the mainline, branch tubing and emitters before adding smart controls. Run the system manually and confirm that each root zone receives water without leaks, uncontrolled runoff or blocked emitters.
Step 4: Add the Timer or Controller
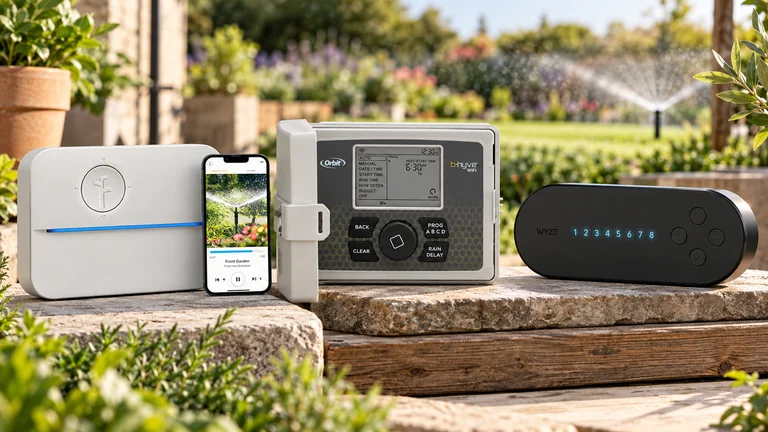
For one watering zone, a basic programmable timer may be enough. A Wi-Fi or app-connected timer becomes useful when remote control, alerts or schedule changes justify the additional complexity.
Smart control should automate a known-good irrigation system. It cannot compensate for poor pressure, clogged emitters or badly grouped plants.
Step 5: Program a Conservative Initial Schedule
There is no universal runtime that works for every garden. Start conservatively, observe the root zone after a complete watering cycle and adjust based on container volume, plant maturity, weather and emitter output.
Step 6: Verify Root-Zone Moisture
Check below the soil surface rather than judging only by appearance. A simple manual check is often more useful than immediately adding electronic sensors.
Step 7: Add Sensors Only When They Solve a Real Problem
A moisture sensor can be useful as feedback, but one sensor should not be treated as representative of every container or bed. Placement matters, and readings must be interpreted in the context of the plants and growing medium.
Step 8: Add Smart-Home Integration Last
Alexa, Google Home, Home Assistant or another automation layer can provide convenient manual commands and alerts, but voice control is not the core irrigation function. Keep the watering system capable of running safely even if an internet service or automation platform is unavailable.
Two Practical Builds Under $200
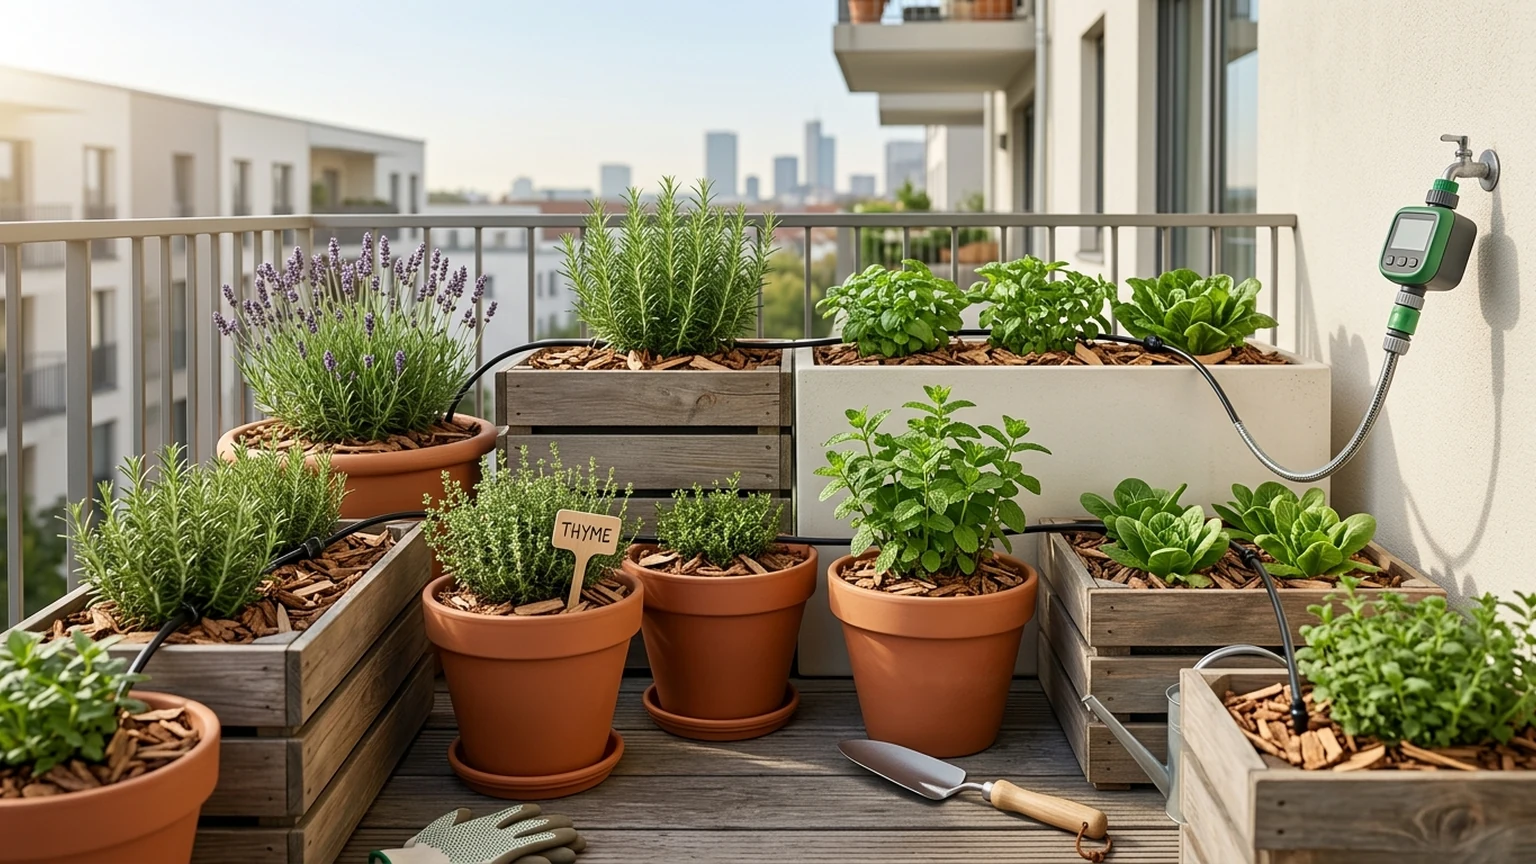
Build A: Simple Balcony or Small Raised Bed
- Programmable timer: about $30–$45
- Filter/regulator: about $20
- Tubing and emitters: about $40–$55
- Fittings and valves: about $20
- Spare/repair allowance: about $15
Planning total: roughly $125–$155.
Build B: Connected Small-Garden Stack
- App-connected timer/controller: about $45–$70
- Filter/regulator: about $20
- Tubing and emitters: about $45–$60
- Fittings and valves: about $20
- Optional sensing or leak safeguard: about $15–$25
Planning total: roughly $145–$195.
Prices vary by retailer and system size. These are planning ranges, not guaranteed current retail prices.
What Not to Automate in the First Build
- Do not attempt automated pruning.
- Do not automatically dose fertilizer unless the system is specifically designed for fertigation and you understand the risks.
- Do not let one moisture sensor control every container blindly.
- Do not build a custom microcontroller system merely because it sounds more advanced.
When an ESP32 or Arduino Makes Sense
A microcontroller becomes useful when you deliberately want a DIY electronics project, custom sensing or integration that commercial timers do not provide. It is optional, not a prerequisite for a smart garden.
For most beginners, a reliable timer plus well-designed drip irrigation delivers more value per dollar and requires much less debugging.
How to Keep the Build Under $200
- Automate one watering zone first.
- Spend on reliable fittings and water delivery before extra sensors.
- Reuse suitable containers and existing garden hardware.
- Avoid duplicating functions across several smart devices.
- Add monitoring only after the base system has run successfully.
Weekend Setup Sequence
Saturday Morning
Map the zone, install filtration/regulation, lay tubing and place emitters.
Saturday Afternoon
Run manual tests, repair leaks, verify emitter coverage and drainage.
Sunday Morning
Install and program the timer/controller, then run a complete automated cycle.
Sunday Afternoon
Inspect root-zone moisture, adjust the system and add optional sensing only if it solves an observed problem.
FAQ
How do I automate my balcony garden cheaply?
Start with one watering zone, a reliable timer and simple drip irrigation. Build and test the physical system first, then add sensors or connected controls only where they provide useful feedback.
Do I need Arduino or ESP32?
No. They are useful for custom DIY electronics, but a commercial timer or controller is simpler for most small gardens.
Can the whole stack really stay under $200?
For a small one-zone system, yes in many cases, provided you avoid unnecessary devices and already have a suitable water source. Reservoir-and-pump systems or large multi-zone gardens may exceed the budget.
Should I automate fertilizing?
Not in a beginner stack by default. Automated fertigation adds dosing, compatibility and failure risks that are unnecessary for a basic watering system.
What should I buy first?
Buy the components that create reliable water delivery: timer, filtration or pressure control where needed, tubing, emitters and fittings. Add sensors after the irrigation system works correctly.
Build the Reliable Layer Before the Smart Layer
For a Smart Home Automator, the useful challenge is not maximizing the number of connected devices. It is building a system that remains understandable, testable and manually controllable. Start with reliable irrigation, verify it, then add the smallest amount of automation that improves control.
Build a More Resilient Garden
One practical system every Tuesday — water-smart gardening, food resilience, permaculture and small-space growing.
No fluff. No spam. Just practical systems that work.