Reading Time: 7 min read
What You Actually Need to Automate Garden Watering in One Weekend
You do not need a fully connected “smart garden” to automate watering. For most home gardens, the core system is much simpler: a reliable water source, a timer or controller, tubing, emitters, basic filtration and pressure control, plus enough testing to confirm that water reaches the root zone evenly.
The fastest way to build the system is to work from the garden backward. First decide what needs water and how many zones you need. Then choose the controller and hardware that match that layout.
Smart Garden Weekend Shopping Checklist
Required for Most Setups
- Water source: outdoor faucet, hose connection, rain barrel pump setup or another compatible source.
- Backflow protection where required: follow local plumbing requirements for the connection you use.
- Timer or controller: single-zone timer for simple systems, multi-zone controller for different watering areas.
- Filter: especially important for drip emitters and rainwater-fed systems.
- Pressure regulator: use when the drip system requires lower pressure than the supply provides.
- Mainline tubing: sized for the system and distances involved.
- Dripline or emitters: selected for beds, containers or individual plants.
- Fittings: tees, elbows, couplers, end caps and adapters.
- Hold-down stakes or clips: to keep tubing in position.
- Hole punch / installation tool: if the emitter system requires one.
Optional Smart Upgrades
- Soil-moisture sensor.
- Rain sensor.
- Weather-aware controller.
- Flow meter or leak-detection feature.
- Wi-Fi or app connectivity.
- Multiple valves for separate zones.
Do not buy every smart accessory by default. Each extra device should solve a specific watering or monitoring problem.
Before Saturday: Make These Four Decisions
1. Count Your Watering Zones
Group plants that can reasonably share a watering schedule. Containers that dry quickly should not automatically share a zone with deep raised beds or established shrubs.
2. Choose the Delivery Method
Use dripline for rows and beds, individual emitters for containers or widely spaced plants, or micro-irrigation where appropriate. Avoid designing around the controller first; the controller should support the irrigation layout.
3. Measure the Route
Estimate how much mainline tubing, dripline and how many fittings you actually need. Add a modest allowance for routing changes rather than buying blindly.
4. Decide How Smart the Controller Needs to Be
If you have one zone and a predictable routine, a basic timer may be enough. If you have multiple zones, travel frequently or want weather-based adjustment, a smarter controller may be justified.
Saturday Morning: Build the Physical Irrigation System
- Connect the water source. Install the required adapter, filter and pressure regulator in the correct order for your system.
- Run the mainline. Route tubing where it can be secured and inspected.
- Create zones. Separate beds or containers with meaningfully different watering needs.
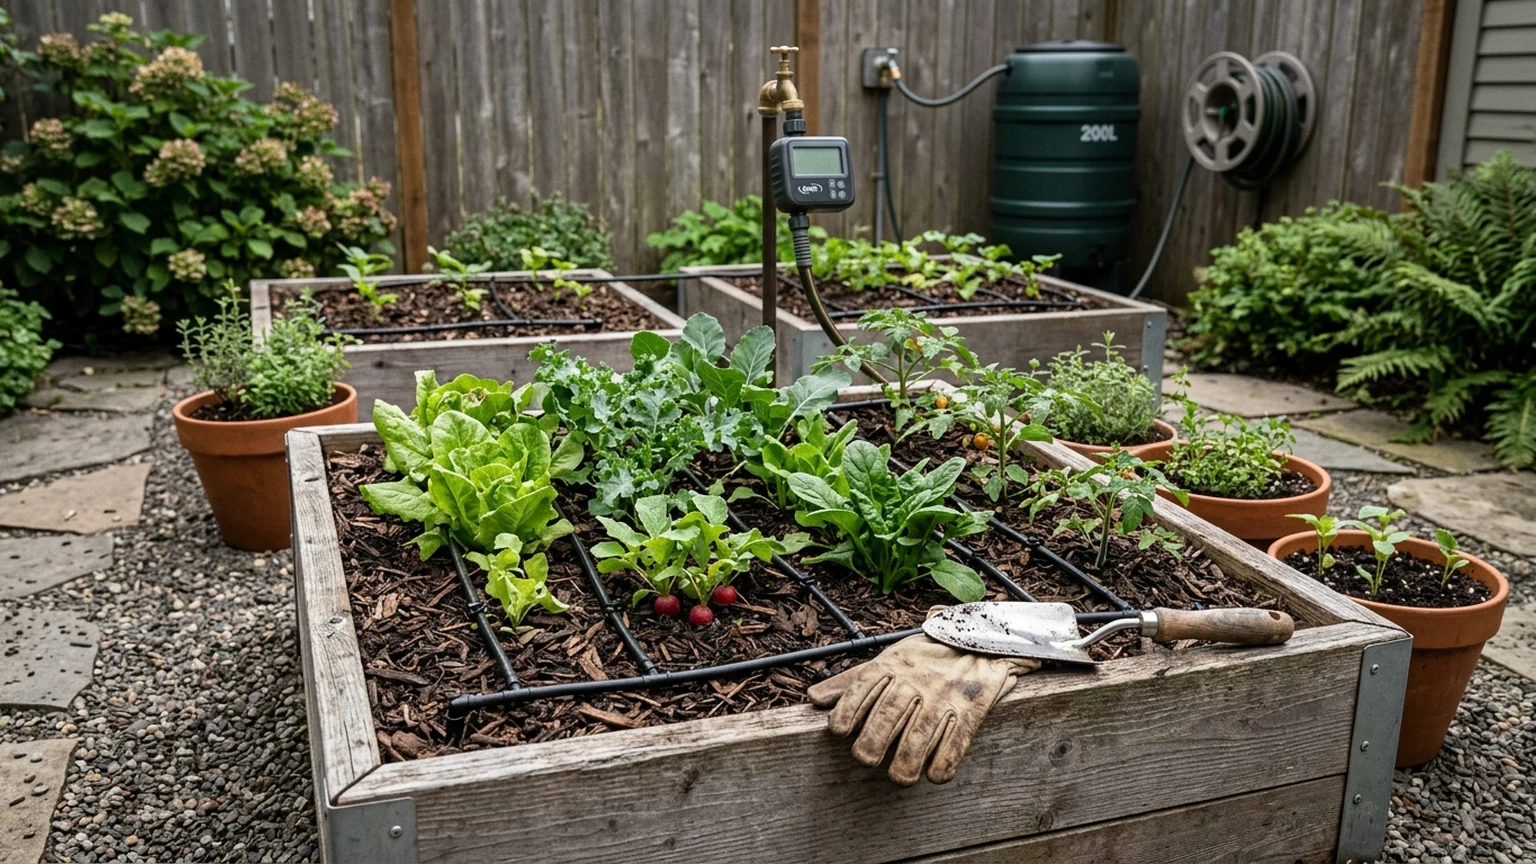
- Install dripline or emitters. Place water near the intended root zones rather than simply spacing emitters evenly for appearance.
- Cap and secure the lines. Prevent movement and accidental disconnection.
- Flush the system. Run water through open line ends before final closure to remove debris.
- Check every connection. Look for leaks, weak flow and disconnected emitters.
Saturday Afternoon: Add the Controller
Install the timer or controller only after the physical irrigation network works manually. This prevents software settings from hiding a plumbing or emitter problem.
- Confirm the controller is compatible with your water source and valves.
- Label each zone clearly.
- Start with conservative runtimes.
- Do not copy a generic watering schedule from the internet.
- Test each zone independently before enabling automation.
Sunday Morning: Test Root-Zone Moisture, Not Just Runtime
A 15-minute runtime tells you how long the system operated, not whether the root zone received the right amount of water.
Run one zone, wait for water to move through the growing medium, then inspect moisture at the depth where active roots are located. Check more than one point in a bed because one emitter can create a wet spot while nearby soil remains dry.
Adjust emitter placement or runtime based on what you observe.
Sunday Afternoon: Add Smart Features Only After the Base System Works
Soil-Moisture Sensor
Place it where the reading represents the plants you are managing. One sensor does not describe an entire garden.
Weather Adjustment
Useful when rainfall or temperature changes make fixed scheduling inefficient. Verify that the controller's weather source reflects your local conditions reasonably well.
Flow Monitoring
Useful for detecting leaks, broken lines or unusual water use. It adds the most value when unattended operation would otherwise hide a problem.
Remote Control
Useful if you travel, manage multiple zones or frequently need to override schedules away from home. It is not necessary for a simple single-zone garden.
Weekend Setup Checklist
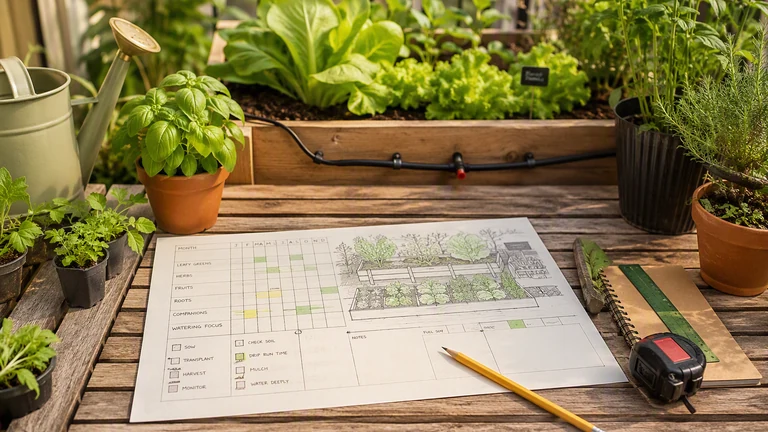
- ☐ Map beds, containers and watering zones.
- ☐ Confirm water-source compatibility.
- ☐ Choose timer or controller.
- ☐ Verify filter and pressure requirements.
- ☐ Measure tubing lengths.
- ☐ Count fittings and emitters.
- ☐ Install mainline tubing.
- ☐ Install dripline / emitters.
- ☐ Flush lines.
- ☐ Check for leaks.
- ☐ Test every zone manually.
- ☐ Check root-zone moisture.
- ☐ Program initial schedule.
- ☐ Enable weather or sensor logic if used.
- ☐ Test manual override.
- ☐ Save zone names and settings.
- ☐ Recheck the system after the first full watering cycle.
Which Controller Setup Fits Your Garden?
One Small Bed or Balcony
A single-zone digital timer plus dripline or low-flow emitters is usually enough. Wi-Fi is optional.
Several Raised Beds
A multi-zone controller becomes useful if crops have different water needs or beds receive different amounts of sun.
Containers Plus Raised Beds
Separate zones are usually preferable because containers often dry faster than in-ground or deeper raised-bed soil.
Frequent Travel
Remote control, alerts and flow monitoring may provide real value because problems can otherwise remain unnoticed.
What Not to Automate Yet
Do not automate an irrigation system that has unresolved leaks, clogged emitters, poor pressure or visibly uneven watering. Smart scheduling cannot correct a defective physical system.
Also avoid adding multiple sensors, hubs and integrations before the basic watering logic is stable. Complexity should be earned by a real need.
Common Weekend Setup Mistakes
- Buying the controller before designing the zones.
- Skipping the filter on drip systems.
- Ignoring pressure requirements.
- Using one schedule for containers and deep beds.
- Programming the timer before checking emitter flow.
- Trusting one soil-moisture reading for the whole garden.
- Assuming app control automatically means efficient watering.
- Leaving the system unattended before checking it through several cycles.
What Equipment Do You Need for a Smart Garden?
For watering automation, the essential equipment is usually a controller or timer, water-distribution tubing, dripline or emitters, fittings, filtration and pressure control. Sensors, weather integration, flow monitoring and app connectivity are optional layers.
The best setup is the simplest system that reliably waters the garden you actually have.
FAQ
Can I really automate watering in one weekend?
Yes, for a straightforward home-garden system. The physical installation and initial controller setup can often be completed in a weekend if the layout is planned and compatible components are ready. Fine-tuning should continue after observing several watering cycles.
Do I need soil-moisture sensors?
No. They can provide useful feedback, but many gardens work well with a timer, drip irrigation and regular root-zone checks.
Do I need Wi-Fi?
No. Wi-Fi is useful for remote control, weather integration and alerts, but a basic timer may be more reliable and sufficient for a simple setup.
How many watering zones do I need?
Use separate zones when plants have meaningfully different watering needs, container volumes, sun exposure or root-zone characteristics.
Should I automate directly from a rain barrel?
Only if the system has enough pressure and flow for the selected emitters and controller. Gravity-fed systems may require different hardware than pressurized faucet systems.
Ready to Build the System? Choose the Hardware by Zone, Not by Hype
For this MOFU stage, the next step is to compare the hardware that fits your exact layout: single-zone timers, multi-zone controllers, drip kits, sensors and flow-monitoring options.
Start with the number of zones and the type of irrigation you need, then choose devices that are compatible with that system. That keeps the purchase decision tied to function instead of feature overload.