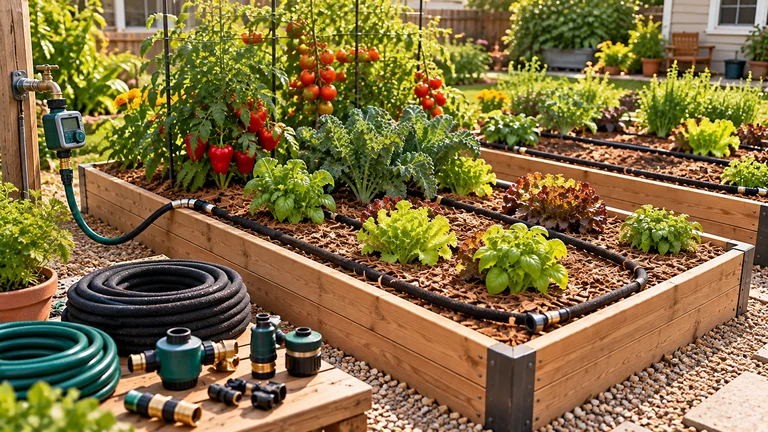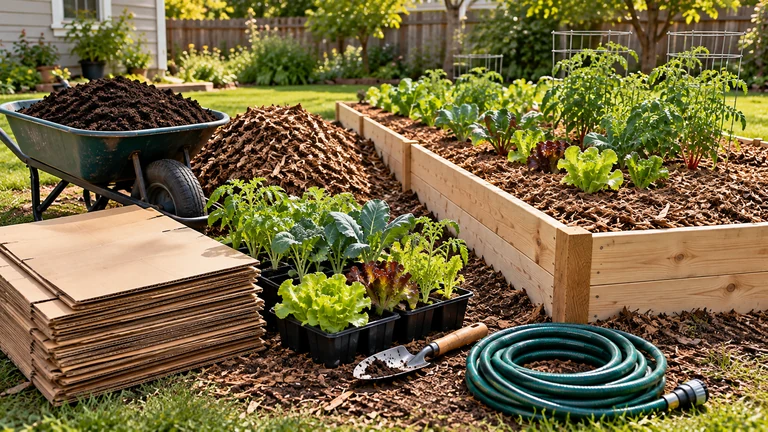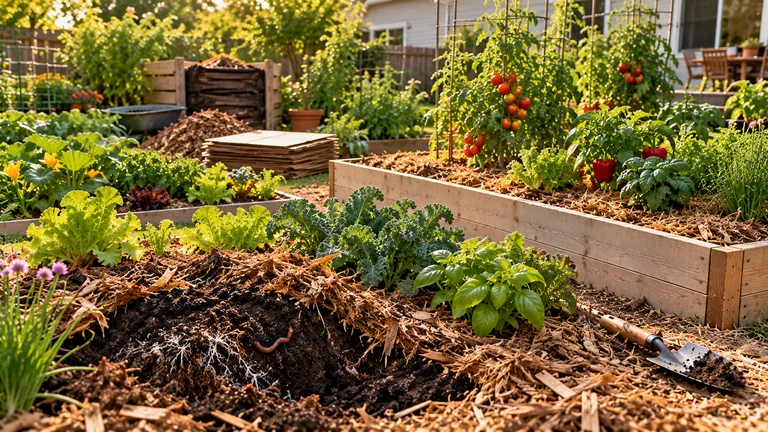
What Is a Lasagna-Style No-Till Raised Bed?
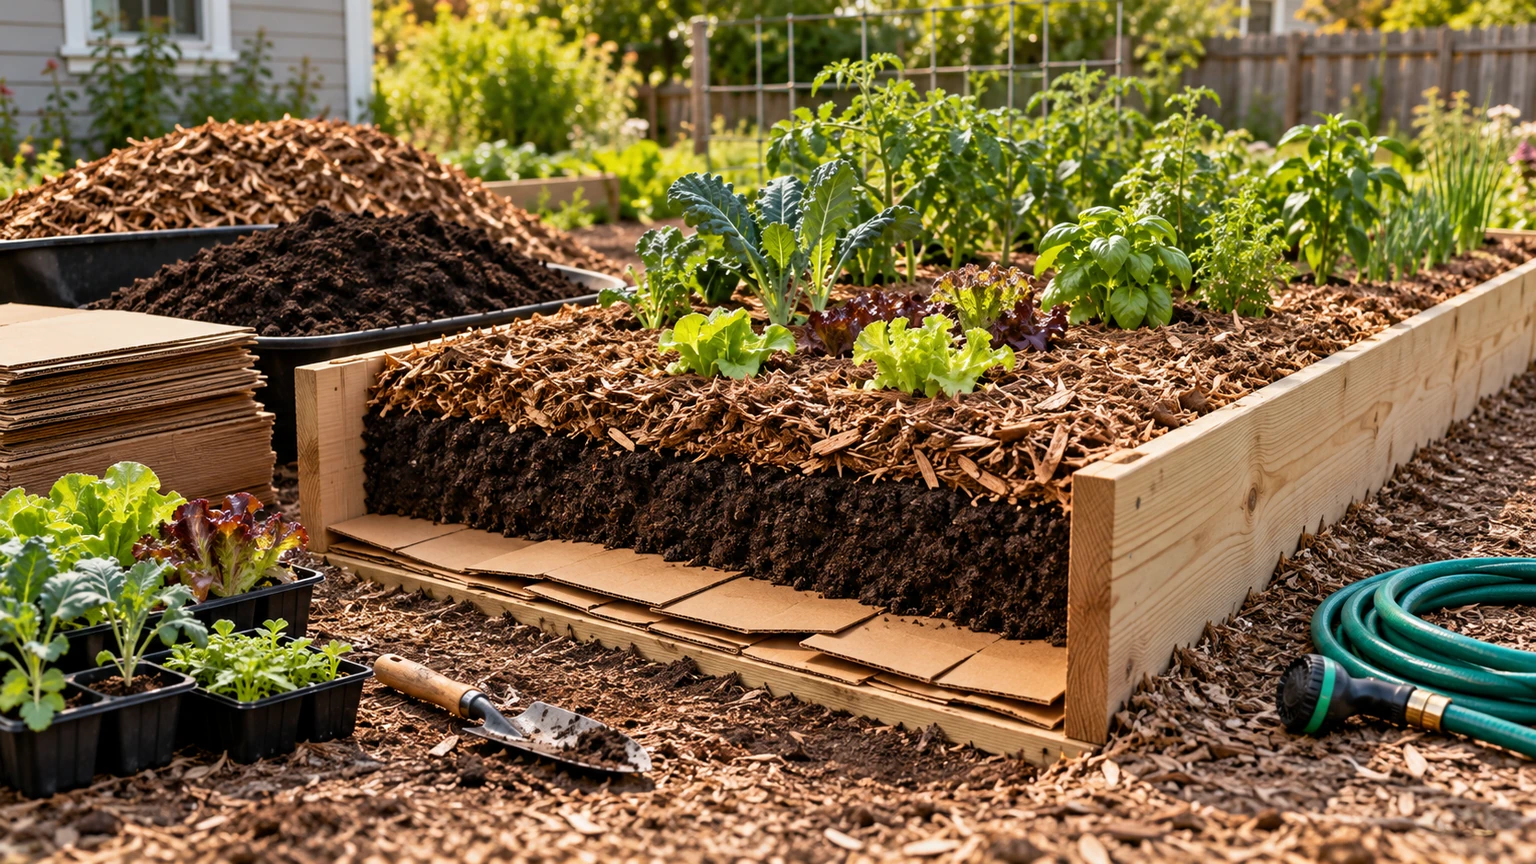
A lasagna bed is a layered growing bed built from organic materials instead of repeatedly digging or turning the soil. The name comes from the way the ingredients are stacked: a weed-smothering base, carbon-rich materials, nitrogen-rich materials such as compost, and a finished top layer that is ready for planting or mulching.
For a raised bed, the method is especially useful because you can build fertility upward rather than excavating the existing ground. The goal is not to create perfectly separated layers forever. The layers gradually settle, decompose and become a biologically active growing medium while the soil underneath remains largely undisturbed.
This makes the method attractive for DIY gardeners who want a practical bed that can be assembled from common materials such as plain cardboard, finished compost, leaves and mulch.
What You Need Before You Start
For a typical 4 × 8 foot raised bed, gather the materials before you begin. Exact quantities vary with bed depth and how much material compresses, so treat the following as a planning range rather than a rigid formula.
- Plain brown cardboard: enough to cover the entire footprint with overlapping seams.
- Finished compost: roughly 6 to 10 cubic feet for a useful planting layer, with more needed if the bed is deep.
- Carbon-rich material: shredded leaves, straw, untreated shredded cardboard or similar dry plant material.
- Nitrogen-rich material: finished compost, aged manure from a trusted source, grass clippings in thin layers, or fresh green garden residues.
- Mulch: straw, shredded leaves, untreated wood chips for paths or other suitable organic mulch.
- Water: each layer should be moist as the bed is assembled.
If the raised-bed frame is already in place, you can normally build directly inside it. On turf or weedy ground, the cardboard base helps block light while decomposition begins underneath.
Step 1: Prepare the Bed Without Tilling It
Remove trash, plastic, wire, large woody debris and aggressive perennial weeds that can push through the bed. You do not need to rototill the footprint. If the ground is severely compacted, a garden fork or broadfork can be used to open a few channels without turning the soil layers over, but this is optional rather than the central method.
Level obvious high spots so the bed sits evenly. Then water very dry ground lightly before adding the first layer. Starting with some moisture helps the cardboard conform to the surface and encourages biological activity beneath the bed.
Step 2: Build the Cardboard Base
Lay plain, uncoated cardboard directly over the soil or turf. Remove packing tape, plastic labels and staples where practical. Overlap every seam by several inches so grass and weeds cannot immediately find gaps between the sheets.
One or two sturdy layers are generally enough. Very thick stacks can slow water movement and decomposition, while a single thin sheet with open seams may break down before it has suppressed the vegetation below.
Wet the cardboard thoroughly after placing it. It should become flexible and stay in contact with the soil rather than remaining dry and curled at the edges.
Step 3: Add Carbon-Rich Material
Above the cardboard, add several inches of loose carbon-rich material. Shredded autumn leaves, straw, partially decomposed leaf mold or shredded plain cardboard are useful choices.
For a new 4 × 8 foot bed, a layer around 3 to 5 inches deep before settling is a practical starting point. Avoid compacting it hard. The material should remain loose enough for water and air to move through it.
Dry carbon materials should be watered as they go into the bed. A pile of bone-dry leaves placed under compost can remain surprisingly dry in the center even after the surface has been watered.
Step 4: Add Compost and Nitrogen-Rich Material
Next add a nutrient-rich layer. Finished compost is the simplest material because it is stable enough to use close to plant roots and provides a biologically active bridge between the rough lower layers and the final planting zone.
A 2- to 3-inch compost layer is useful in a shallow lasagna bed. If you plan to plant immediately, use a deeper finished planting layer at the top rather than expecting young roots to establish directly in coarse, unfinished material.
You can alternate additional thin carbon and nitrogen layers if you have enough material, but do not turn the process into a rigid recipe. The useful principle is balance: dry, fibrous material provides structure and carbon; compost and greener materials provide nutrients and help decomposition proceed.
Step 5: Create a Plantable Top Layer
If you want to plant immediately, finish with approximately 3 to 6 inches of mature compost or a suitable finished garden-soil blend. Seedlings and shallow-rooted crops need a stable medium around their roots while the rougher layers underneath continue to settle.
For direct-sown seeds, create a fine compost-rich surface rather than sowing into coarse straw or fresh plant debris. Small seeds need consistent moisture and good contact with the growing medium.
If the bed will rest for several weeks or through a cool season, the top layer can be thinner initially because the entire stack will settle before planting.
Step 6: Mulch the Surface
Finish with an organic mulch around established transplants or after direct-sown seedlings are large enough. A mulch layer of roughly 2 to 3 inches can reduce evaporation, moderate soil temperature and slow weed emergence.
Keep mulch slightly away from small seedling stems and avoid burying newly sown seed rows under a heavy layer. Add more mulch later as the first layer decomposes.
Should You Plant Immediately or Let the Bed Mature?
Both approaches can work, but they require different top layers.
Plant immediately when:
- you have enough mature compost for a substantial planting zone;
- the lower layers are moist rather than dry;
- the materials are not dominated by fresh woody debris;
- you are planting transplants or larger seeds into the finished top layer.
Let the bed mature first when:
- most of the material is coarse or only partly decomposed;
- you have limited finished compost;
- the bed is being built in autumn for spring planting;
- the stack is unusually deep and expected to settle substantially.
A resting period is convenient, but it is not mandatory. The deciding factor is whether the plant roots have an adequate finished growing layer now.
A Practical 4 × 8 Foot Example
For a common 4 × 8 foot bed, a simple build might look like this from bottom to top:
- Overlapping plain cardboard over the entire 32-square-foot footprint.
- About 3 to 5 inches of damp shredded leaves or straw.
- About 2 to 3 inches of finished compost.
- Another light carbon layer if sufficient material is available.
- A final 3 to 6 inches of mature compost or finished growing mix when planting immediately.
- About 2 inches of surface mulch around established plants.
The bed will settle. That is normal. Keep extra compost and mulch available so you can top it up later instead of trying to make the first build permanently level.
Materials to Avoid
A lasagna bed is forgiving, but not every waste material belongs in it.
- Waxed, glossy or heavily coated cardboard: use plain brown cardboard instead.
- Plastic tape and shipping film: remove them before layering.
- Large quantities of diseased plant material: keep questionable material out of a new food-growing bed.
- Fresh woody material as the planting surface: keep coarse carbon deeper in the bed and use finished compost around roots.
- Unknown soil amendments: do not add lime, sulfur or concentrated fertilizer simply because they are available. Use them only when there is a reason.
Common Lasagna-Bed Mistakes
1. Making the cardboard layer too thin
Open seams allow grass and weeds to emerge quickly. Overlap the cardboard rather than trying to cover the footprint with perfectly edge-to-edge pieces.
2. Leaving the layers dry
Decomposition slows when the inner layers stay dry. Water each layer as you build instead of soaking only the finished surface.
3. Using too little finished compost
A bed can contain plenty of organic material and still be difficult to plant if the top is mostly coarse debris. Give roots a finished growing layer, especially when planting immediately.
4. Building a very deep bed in one loose stack
Fresh organic layers settle significantly. Add materials in manageable layers, water them and expect to top up the bed later.
5. Turning the bed after building it
The method is designed to reduce repeated soil disturbance. Once established, replenish the surface with compost and mulch rather than digging the whole profile every season.
Does Lasagna Gardening Really Work?
Yes, the basic method can work well for raised beds when the bed contains enough moisture, sufficient finished material for roots and a reasonable balance between coarse carbon and nutrient-rich compost. It is not magic, and simply stacking random organic waste does not guarantee a productive bed.
The practical advantage is that you can suppress existing vegetation, build organic matter and create a planting zone without repeatedly turning the underlying soil. Over time, worms, fungi, roots and other soil organisms help blend the layers naturally.
The method is most successful when you think of it as a living bed that will settle and change rather than as a one-time construction project.
What to Do After the First Season
At the end of the growing season, leave healthy roots in place where practical, remove diseased crop residue, and cover exposed soil with mulch or a fresh compost layer. The following season, add compost to the surface where needed rather than rebuilding the bed from scratch.
If the bed has settled several inches, top it up with finished compost and mulch. Over time, this surface-feeding approach becomes simpler than the original construction because the lower layers are already decomposing and the soil structure beneath the bed remains largely undisturbed.
Quick Start Checklist
- Build the raised-bed frame.
- Cover the ground with overlapping plain cardboard.
- Wet the cardboard.
- Add 3 to 5 inches of moist carbon-rich material.
- Add 2 to 3 inches of finished compost.
- Add additional thin layers if materials are available.
- Finish with 3 to 6 inches of mature planting material for immediate planting.
- Plant, water and add surface mulch.
- Top up with compost and mulch as the bed settles.
A successful lasagna bed does not depend on having a long shopping list. Cardboard, compost, mulch, water and a sensible planting layer are enough to build a straightforward no-till raised bed and improve it season by season.